Elisabeth L.
Most of the time one censoring style covers everything DeniedPixels detects. Advanced Styling is for when you want more than that: a single part singled out, or a different treatment for each part.
You reach it from the Advanced button on the style picker. It opens two tools, and they can be used separately or together: Focus Zone and Per-Body-Part Styling.
Focus Zone
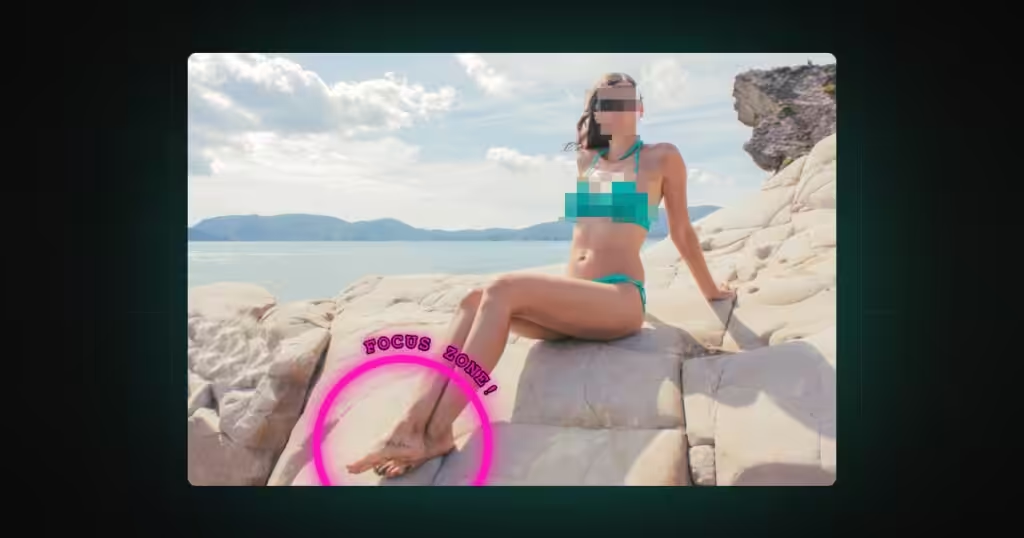
Focus Zone draws a ring around one part to call attention to it. You give it a priority list of body parts, and for each image it finds the highest-priority part present and rings it. Everything on the page keeps being censored by your normal style exactly as before; the ring is drawn on top as a marker.
It works down the same kind of priority list Beta TV Mode uses. Add body parts as tiles and order them. If your first-choice part isn’t in the image, Focus Zone falls through to the second, then the third, down the list. If none are present, no ring is drawn.
Per-Body-Part Styling
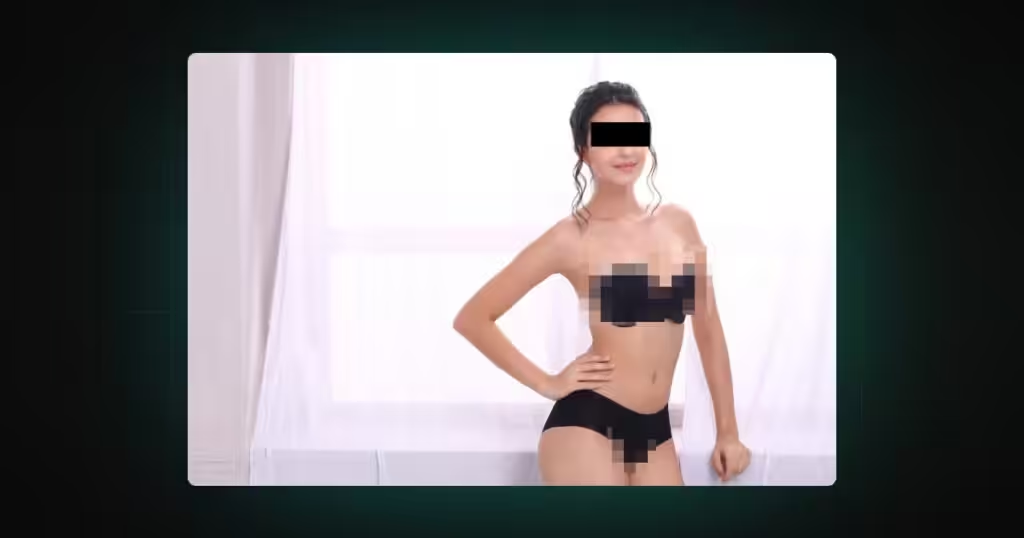
By default every detected part gets the same style. Per-Body-Part Styling breaks that, letting you assign a different censoring style to each zone, with its own colour, opacity, intensity and every other knob applied per override.
You add a body part, choose a style for it, and that zone is now handled independently. A face on Glitch while everything else stays on Pixelate, for example. Each override is its own row, with its own settings and a delete control, and you add as many as you want with Add body part.
This is the tool for setups where different parts should read differently, rather than one blanket treatment across the whole image.
How it fits with the rest of DeniedPixels
Advanced Styling changes how detected content is presented, not what counts as detected. Your detection zones and sensitivity still decide what the extension acts on; these tools decide what happens to it afterwards.
It layers with your main viewing mode. Run it under Only Once, Decay or Challenge Mode, and lock the configuration with Self Lock once it’s set the way you want.