DeniedPixels is available on iPhone as a Safari extension. All core features work the same as on desktop — image censoring, video censoring, all 18 censoring styles, detection zones, modes, and performance tuning. The only feature not available on iOS is Shared Access.
EU App Store: We’re currently completing Apple’s regulatory verification for EU distribution under the Digital Services Act. This is a standard process for all developers and we expect it to wrap up soon. In all other regions app is available for download. DeniedPixels just launched on the App Store. It may take a few days to appear in search results. If you can’t find it, use the direct link.
How to install
Download DeniedPixels from the App Store. Once installed, you need to enable the Safari extension:
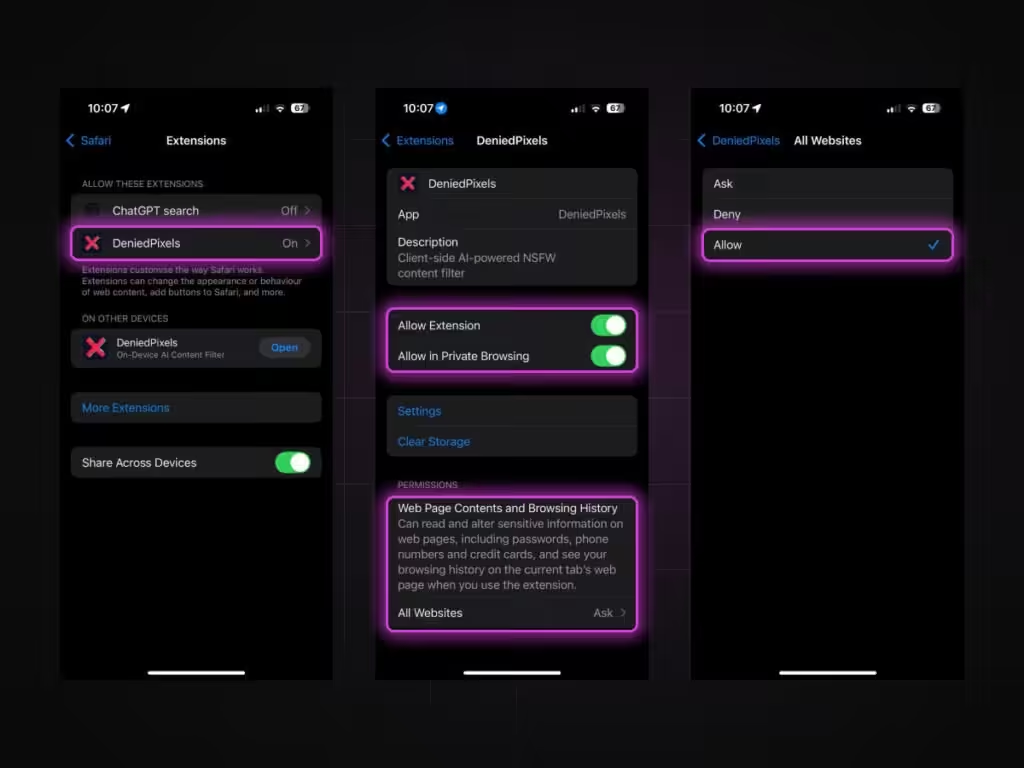
Open Settings → Safari → Extensions → DeniedPixels and toggle it on. Then set the permission to “All Websites” so the extension can scan content across every site you visit. Without this permission, the extension won’t be able to detect or censor anything.
Once enabled, open the DeniedPixels app to configure your settings. Detection zones, censoring styles, modes, and performance tuning are all managed from the app — not from Safari itself. Safari just runs the extension in the background based on whatever you’ve configured in the app.
Subscription
On iPhone, subscriptions are handled through Apple’s in-app purchase system. You can subscribe directly from the app — no need to visit the website or create a separate account. Your subscription is tied to your Apple ID and can be managed through Settings → Apple ID → Subscriptions on your device.
If you already have a subscription through our website (for Chrome or Firefox), that license does not carry over to iOS. iPhone requires a separate Apple subscription due to how the App Store works. But we can do refund, please contact us via our support email or contact form.
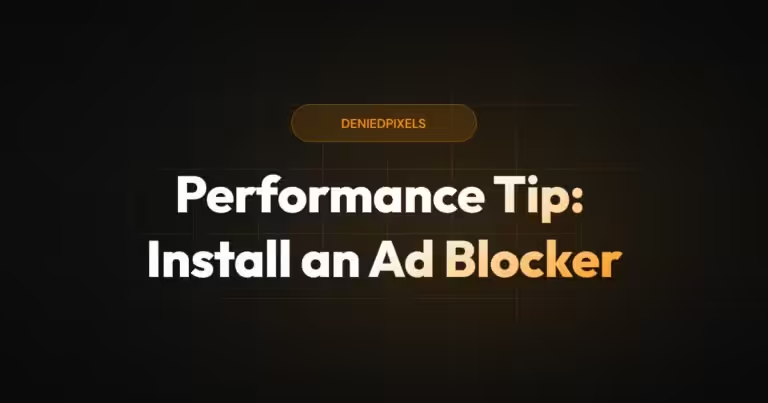
Ad blocker recommended
We strongly recommend installing an ad blocker alongside DeniedPixels
Ad-heavy sites load dozens of extra images and autoplay videos (we’ve seen up to 3-4 videos censoring processes at the same time!) that the extension has to process on top of the actual content. On mobile hardware, this can cause noticeable lag. An ad blocker removes the junk before DeniedPixels ever sees it, resulting in smoother video censoring and better battery life. Check out our ad blocker performance guide for more details.
Performance on iPhone
The AI model runs entirely on your device, and iPhones vary in processing power. DeniedPixels has enough performance settings to tune it for your specific device.
The main setting to adjust is Detection Frequency. It’s a slider from 1 to 10 that controls how often the AI checks video frames. At 1 (battery saver), the extension checks every 1.5 seconds — lightest on your phone but censoring may lag behind fast scene changes. At 10 (fastest), it checks every 0.1 seconds for near-real-time tracking. If video playback stutters, bring the number down. If censoring feels delayed, bring it up.
If your iPhone is a recent model (iPhone 13 or newer), it should handle top settings without issues. Older models may need to stay on the lower end or use Full Blur / Black Box video mode instead of full AI Detection to keep things smooth.