DeniedPixels gives you 28 individual detection zones, each one independently togglable, so you control exactly what the AI looks for and what it ignores. Combined with the sensitivity slider, you can dial the detection from cautious to aggressive depending on what you need.
Here’s every detection zone available and how the sensitivity system works.
The 28 detection zones
Each zone is a category the AI model has been trained to recognize. You can turn any of them on or off independently — the extension only censors what you’ve told it to look for.
The zones fall into a few logical groups:
Face detection
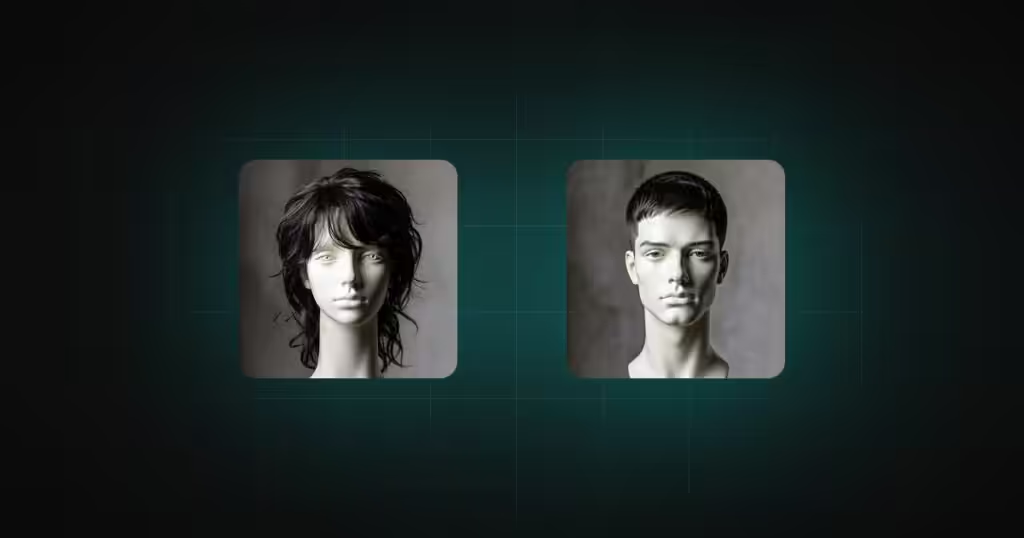
Face (Female) and Face (Male) are separate zones. This means you can censor one, both, or neither. Face detection is useful for privacy-related filtering or obscuring identities in content you’re browsing. Since it’s split by gender, you have granular control over which faces get the treatment.
Specific Face Features
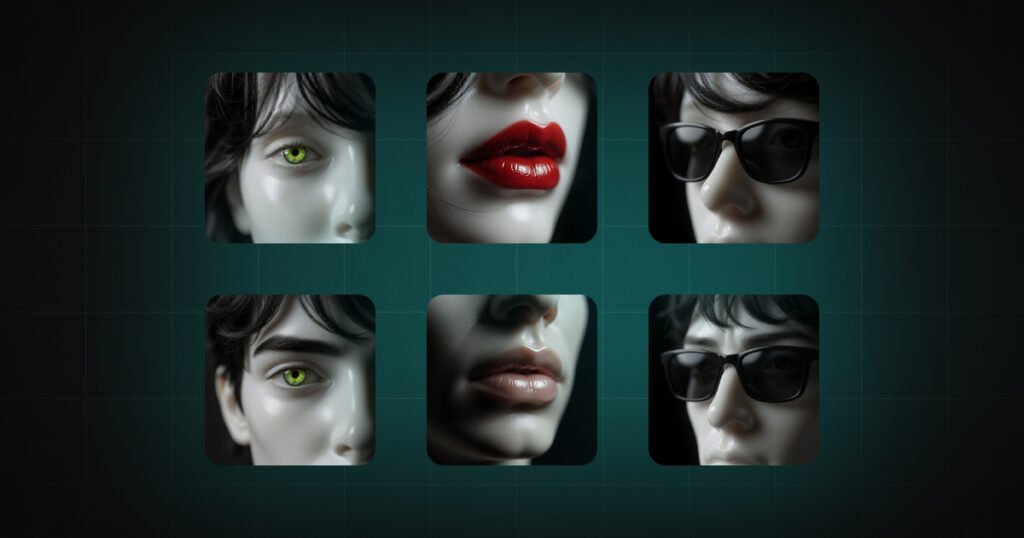
Eyes (Female) and Eyes (Male) detect eyes independently from the full face. Mouth (Female) and Mouth (Male) do the same for mouths, and Nose (Female) and Nose (Male) for noses. These let you censor specific facial features without covering the entire face — or combine them with the full face zone for layered effects.
Upper body
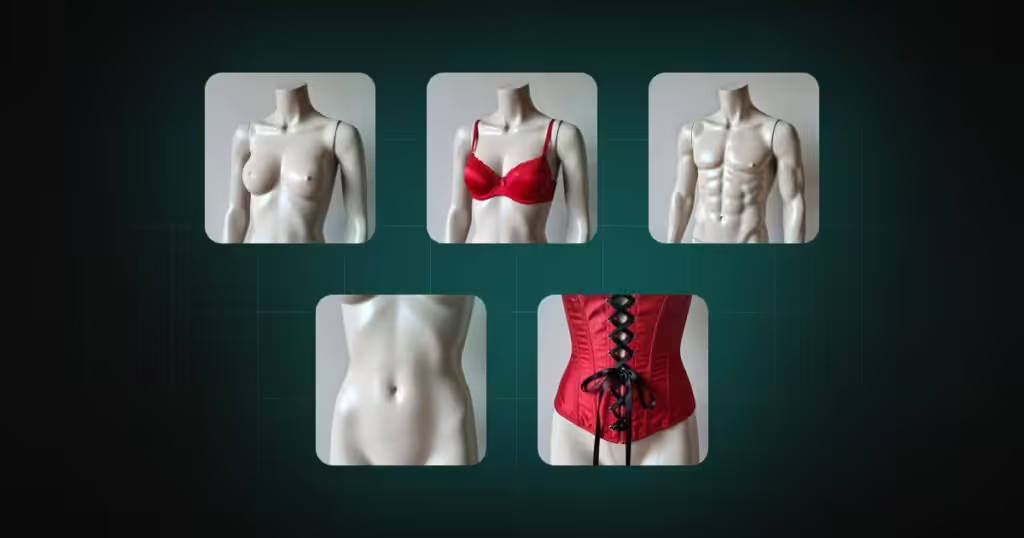
Female Breast (Exposed) and Female Breast (Covered) are two separate zones. The “exposed” zone detects the area when uncovered. The “covered” zone detects the same area when clothing is present. Having both as independent toggles means you can decide whether to censor only one variant or both.
Male Breast (Exposed) works the same way for the male equivalent.
Belly (Exposed) and Belly (Covered) detect the midsection area. Like the other paired zones, you toggle exposed and covered independently.
Lower body
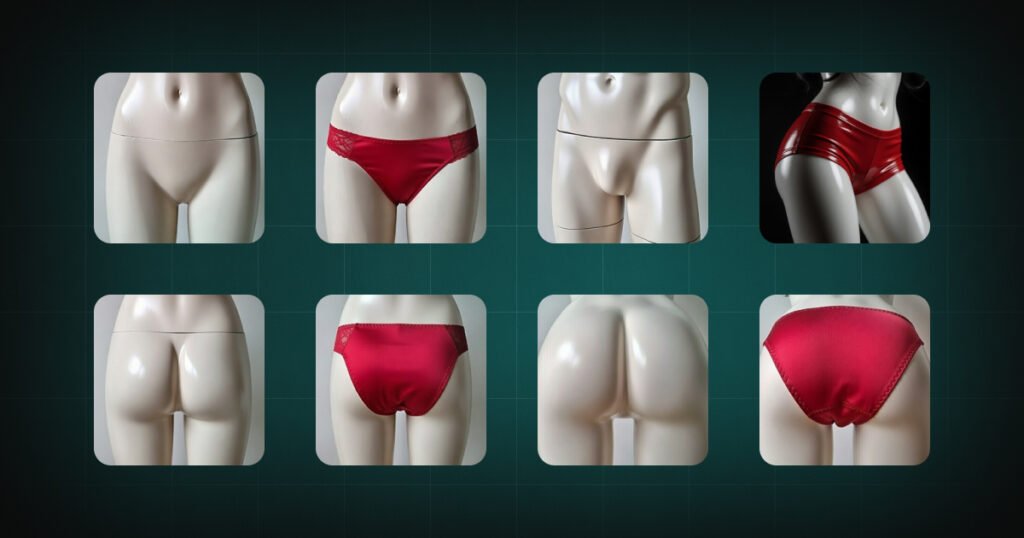
Female Genitalia (Exposed) and Female Genitalia (Covered) follow the same exposed/covered split. Male Genitalia (Exposed) covers the male equivalent.
Pelvic detect the pelvic region. Useful if you want broader lower body coverage beyond the more specific zones above.
Buttocks (Exposed) and Buttocks (Covered) detect the rear area regardless of gender.
Anus (Exposed) and Anus (Covered) are their own separate zones.
Other zones
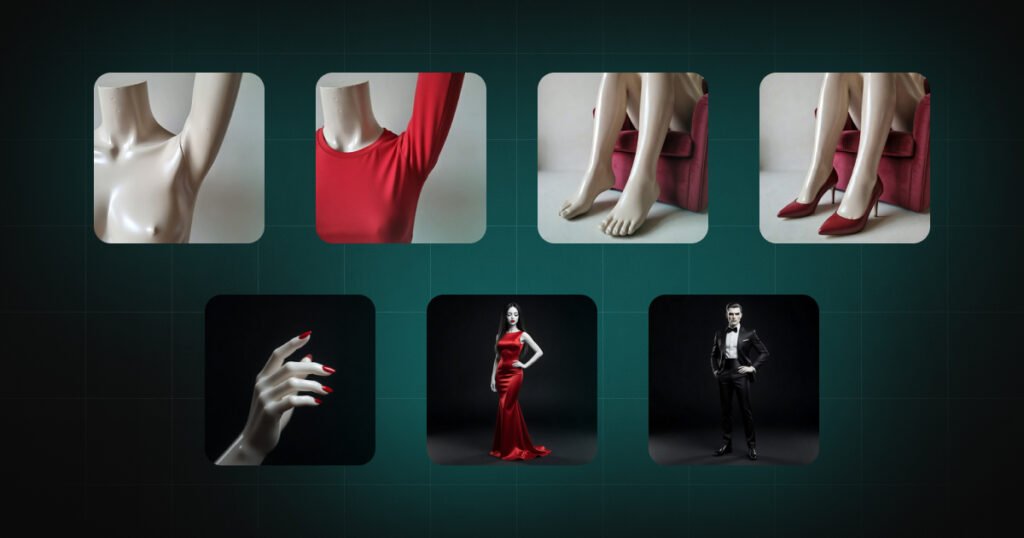
Armpits (Exposed) and Armpits (Covered) detect the underarm area. Feet (Exposed) and Feet (Covered) detect feet. Hands detect hands.
Person (Female) and Person (Male) detect the entire body. These zones censor a person as a whole rather than targeting specific body parts — useful when you want complete coverage.
The exposed vs. covered distinction
You’ll notice most zones come in pairs: an exposed variant and a covered variant. This is one of the more useful details in how DeniedPixels works.
The “exposed” zone triggers when the AI detects that area uncovered. The “covered” zone triggers when the area is detected but clothing or other covering is present. They’re completely independent — turning on the exposed variant doesn’t automatically enable the covered one, and vice versa.
This gives you a lot of flexibility. You might want to censor only exposed detections and leave covered ones alone. Or censor both. Or in some cases only care about the covered variant. Whatever your use case, the split lets you set it up exactly right.
Detection sensitivity
On top of choosing which zones are active, you can set a global detection sensitivity between 10% and 80%.
This controls how confident the AI model needs to be before it flags something. Lower values mean the model is more cautious — it only flags detections it’s very sure about, so you get fewer false positives but might miss some edge cases. Higher values make it more aggressive — it’ll flag anything that loosely matches a detection zone, which catches more but also increases the chance of incorrect detections.
There’s no universally “correct” setting here. It depends on your needs and how aggressive you want the filtering to be. A few practical starting points:
Low sensitivity (~20-30%) works well if you’re finding the extension flags too many things incorrectly. It tightens the model’s confidence requirement so only high-certainty detections get censored.
Medium sensitivity (~40-50%) is a balanced middle ground. The model catches most relevant content without being overly aggressive on ambiguous cases.
High sensitivity (~60-80%) is for maximum coverage. The model flags anything that resembles a detection zone, even at lower confidence. You’ll get more false positives — a similarly-shaped or colored object might get flagged — but very little will get through.
Start somewhere in the middle, use the extension normally for a bit, and adjust based on whether you’re seeing too many false positives or too many misses. You can change the sensitivity at any time from the extension settings without reloading the page.
Combining zones with censoring styles
Detection zones and censoring styles are independent systems. You pick which zones to detect, and separately you pick how detected content gets censored (blur, pixelate, black bar, or any of the other 17 styles covered in our censoring styles guide). The chosen censoring style applies to all active zones equally.
So the workflow is: enable the zones you care about, set your sensitivity, pick a censoring style, and the extension handles the rest. Every image on every page gets scanned against your active zones, and anything that matches gets your chosen style applied automatically.